Showing posts with label 1 Cookie. Show all posts

Sunday, April 18, 2010

Banana Bread

Difficulty Rating:


I know! I know. It's been forever. I know. Please don't hate me. I have, like, three things to post up, and will do so soon, my lovelies. I promise. In the meantime, here is some delicious bread to take your mind off it. :D

Recipe

1 2/3 cups Self Rising Flour
1 tsp Cinnamon
1 c + 2 tbls Sugar
2 eggs
1/2 c vegetable oil
3 1/2 overripe bananas, mashed
1 tsp vanilla extract
2 tbls sour cream

Preheat oven to 350 degrees and grease a breadpan. Mix flour and cinnamon and set aside. Mix bananas, sour cream, and vanilla and set aside.

In a bowl, whisk together sugar and eggs for ten minutes. Slowly whisk in oil. Stir in banana mixture. Add flour mixture. Pour into breadpan and bake 45-60 mins depending on oven. Let cool ten minutes before serving.

Execution

I mean, just look at that recipe. So easy! Let's get to it!

Ingredients


Get the oven and pan ready. Once again, I use Crisco to grease things because it makes them extra delicious. As you can see from the picture, I already dumped the cinnamon into the flour, so no big deal there.

Then mash up your bananas with either a handheld potato masher or a fork - they're overripe, so this should be really easy.


Add in the sour cream and vanilla and mix it all up into a gooey mess, then put it aside.


Now comes the arm-killing part. Whisking. Ugh. Add the eggs in with the sugar...


...and then spend the next ten minutes wishing you'd worked out more. Seriously, nothing makes you feel more like a loser than realizing how weak of a whisker you are. But do it! Ten minutes! Time yourself, you gotta get it all delicious!


Then just slowly drizzle the oil in and whisk it. I usually just dump a little in and then whisk, repeat repeat repeat. For a 1/2 cup of oil, it should take you about six or seven rounds. When you're done, it'll be all shiny like pearls. Preeeeeetty.


Now dump that in with the 'Naner mixture and stir it up good.


And then dump the flour in and mix it. It won't get thick like dough; it'll still be way more like cake batter than bread dough, as seen below when I poured it into the breadpan:


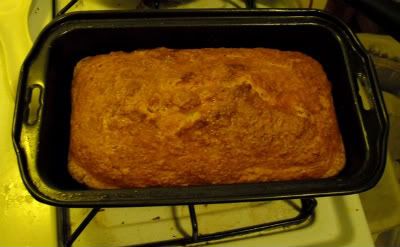
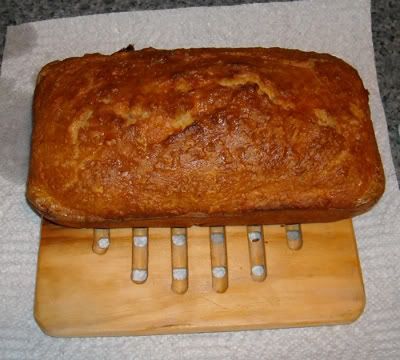
Throw that sucker in the oven and bake it for 45-60 minutes. My oven only takes 45 minutes because it cooks like a boss. When you pull it out, take a moment to enjoy the golden deliciosity of it all!


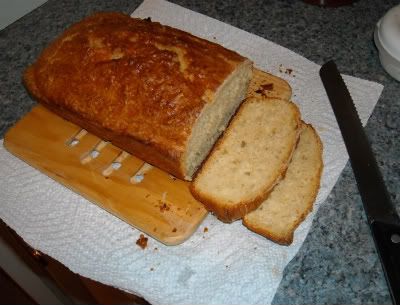
Mmmmm. I am an asshole, and wanted some RIGHT NOW so I cut into it immediately. Which is why in this picture you can see both the steam coming off of it, and also how it slumps a little once it's cut - that's because I didn't give it time to settle and solidify. Don't do like me. Unless, like me, you don't give a damn what it looks like and just want the nummy in your belly.


If you're feeling especially fond of fatassery, put a smidge of butter on it while it's still hot. You'll thank me for it. I promise. :D

Friday, December 18, 2009

Trailer Park Toffee

Difficulty Rating:

I can't believe I'm putting this on the website. This may be the weirdest thing I've ever made, and when I saw the recipe for it, I giggled and said it sounded like the strangest thing ever. I disbelieved. And then it was done, and I tried it... and then I ate, like, four more pieces. So since I was very much against this recipe before I even tried it (for example, it is not actually called Trailer Park Toffee, I was just being a jerkface), I have decided to eat my crow as thoroughly as possible and post it up for the rest of you to try. Enjoy!

Recipe

1 sleeve of saltine crackers
1 c. light brown sugar
2 sticks of butter
12 oz bag of semi-sweet chocolate chips

Preheat oven to 400 degrees. Cover a cookie sheet with tin foil. Place crackers flat on foil to cover.

In saucepan, melt butter and add sugar. Boil, then reduce to medium heat and simmer for 3 minutes, stirring constantly. Pour and spread over crackers. Bake 7 minutes.

Remove from oven and let cool 3 minutes. Pour chocolate chips evenly over the crackers, then bake 30 seconds to soften up the chocolate. Remove and spread the chocolate to cover. Refrigerate.

Execution

I know what you're thinking - saltines don't make toffee! However, the crackers make it deliciously salty AND sweet. Oh man. I'm having to force myself not to go raid the fridge right now.

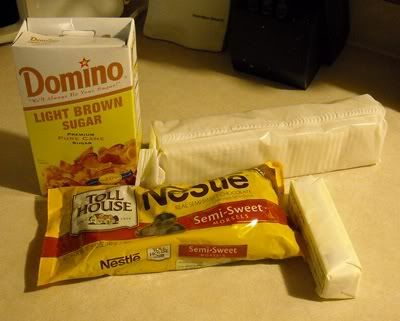
Ingredients


I know it only shows one stick of butter, but use two.

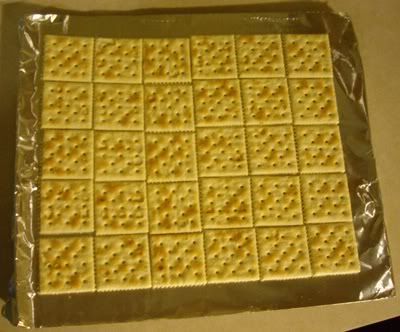
Lay out the crackers. Now, I learned the hard way that you should really curl the tin foil up around the edges. I'll show you why in a minute.


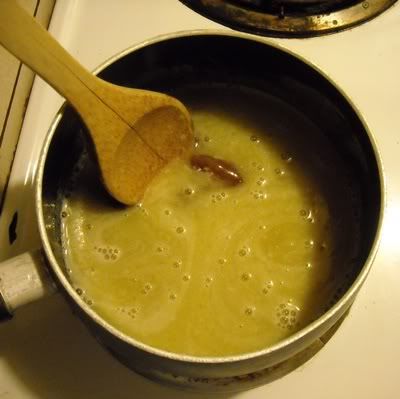
Melt the butter and add the brown sugar...


...stir it all together and bring it to a boil!


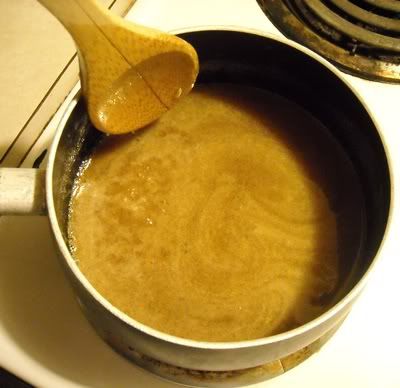
Boil it for about 3 minutes, until it gets kinda foamy. This is a a variable, because if you don't cook it long enough it'll stay liquid, but if you cook it too long it'll turn rock hard and you won't be able to eat it.

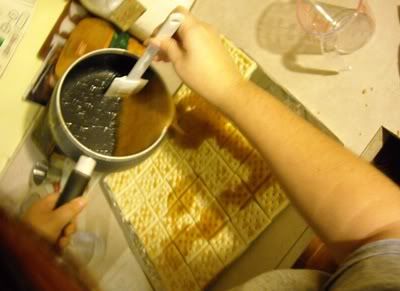
Once it's cooked, pour it over the crackers. This'll be messy, but it's okay!


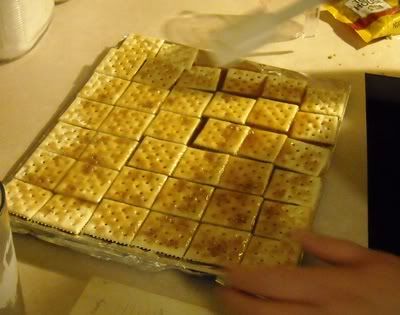
Then spread it around if you need to. Don't worry, the ones on the edge won't be as gooey. It's to be expected.


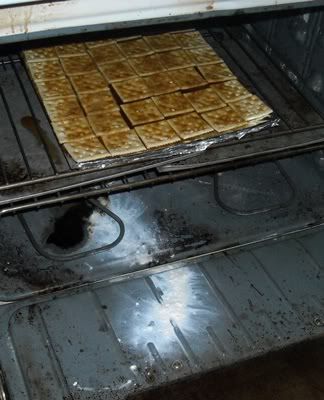
However, this is when you'll learn why you should curl the edges up to keep the liquid from dripping off edges. Or at least put some clean baking sheets under it to catch the drips. Because stuff can and WILL catch on fire. Hence the need for all the baking soda.


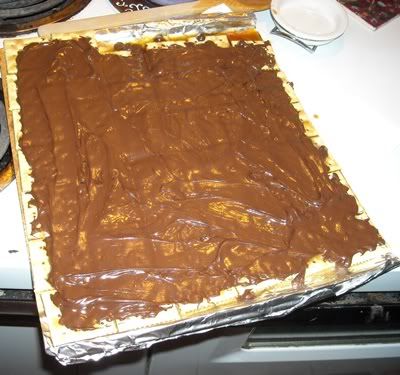
Whee! Okay, well, everything's salvaged, so just keep going! Pour the chocolate chips over it, then stick 'em back in the oven for a minute, just long enough so that they start to melt, and then spread the chocolate out over the whole thing.


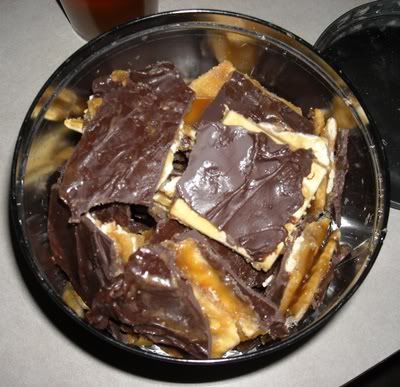
Put it in the fridge for a couple hours to firm up, then break it up into pieces and serve! Look at that... I mean, it looks delicious! And it is delicious! Who'da thought, huh?


Om nom nom... nom nom sticky om nom.

Wednesday, September 16, 2009

Lemon Pasta

Difficulty Rating:

I'm putting this down as a 1 Cookie recipe because it's painfully simple and you probably have everything except the lemons already. There is a bit of a variation on the recipe if you wanna get fancy, but I'll explain that later.

Recipe:

1 lb pasta
2/3 cup grated Parmesan cheese
2/3 cup olive oil (extra-virgin preferred)
1/2 cup fresh lemon juice, about 4 lemons
salt and pepper

Boil the pasta and drain.

Mix remaining ingredients. Pour over pasta. Mix until the pasta is well covered. Serve hot or cold.

Execution:

The thing I love about this recipe is its versatility. This is the most basic version of this recipe, but I will often add other things to it: grilled chicken, sauteed broccoli, fresh diced tomatoes, anything really. It's also delicious both hot and cold, so it's perfect right off the stove or refrigerated and brought to a picnic. Yum!

Ingredients:


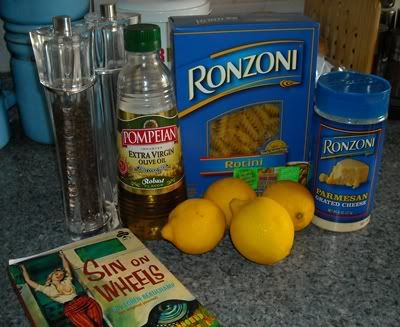
No, this is not an ad for Ronzoni, they were just having a sale at Trade Fair. Shut up.

As far as which kind of pasta to use, it really doesn't matter. I've made it with spaghetti, angel hair, rotini, small shells, linguine... really, whatever you like. I find that using something with texture or nooks-slash-crannies (rotini, bow ties, shells, spaghetti rigata) works best because then there's places for the delicious cheesy-lemon sauce to get stuck in.

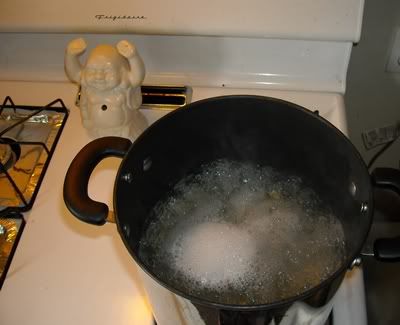
First step: boil the pasta.


Boil, kitchen Buddha, boil! Use your magic zen kitty dragon rainbow chakra power ding!

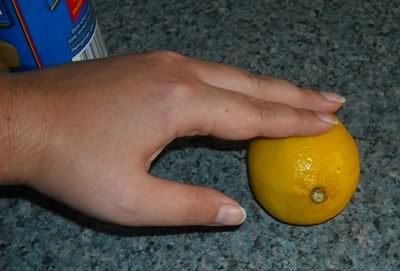
Next, juice the lemons. A note on making things easy: I don't have any fancy juicer, I just use a fork and my ten little fin'ers. If you have a juicer that's fine, go crazy. But if not, and you just want to juice them by hand, start by rolling the lemons on the counter.


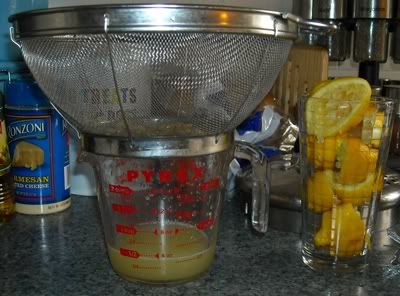
Just roll them from fingertips to palm, squishing the lemon, and that'll break up some of the pulp and make it easier to get the nummy juice out. Cut 'em in half, then strain the seeds. I usually do this by sticking the collander on top of the measuring cup and juicing it there...


... but you can always just juice 'em into a bowl and pick the seeds out by hand. I do that when I'm feeling too lazy to wash the collander.

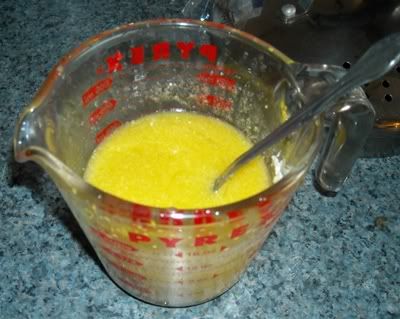
Now that you've got your juice, dump the oil and cheese into it. I'm using the basic powdered cheese we all know and love, which will henceforth be known as Shakey Cheese. If you can afford it, go ahead and get a chunk of parmesan and grate it yourself - it's a hundred times better. Not that this isn't delicious, but real parmesan is like a party in your freaking mouth.

Anyway, mix 'em all up. It'll probably still separate a little (for all you scientists out there, this is a suspention mixture) but that's fine, just mix it up again before you pour it. You can add salt and pepper to this mixture or put it on the pasta after you've mixed it all together, it's up to you.


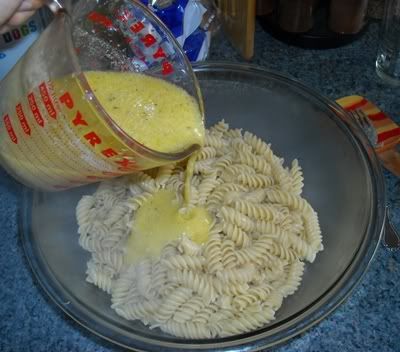
You should be able to do all this and have a beer before the pasta's done boiling. Once it's done, drain it and put it in a big ol' bowl. Then just pour your cheesey-lemon sauce over it.


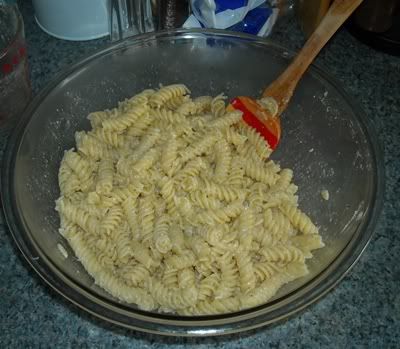
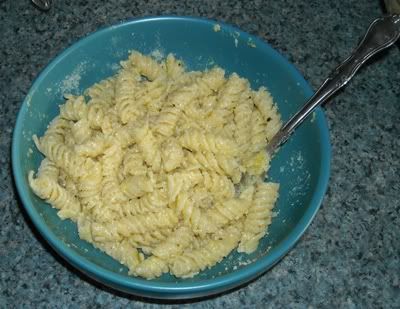
Just dump it all in, you don't have to do anything special. Then mix it all up so the pasta gets completely coated, and sha-zam! Delicious lemon pasta!


The original recipe for this says that at this point you should add 1/3 cup fresh chopped basil. This is an AWESOME idea and I love doing it. Basil is my favorite fresh herb to use, and it makes it super colorful (because, let's face it, this is kinda monotone, yes?). I just forgot to get basil at the store, so none for me. Also, fresh basil kinda makes this a 2 Cookie Recipe. Anyway, I recommend that if you have access to basil, you throw it in there. You can also try sauted spinach, that's good. I mean, anything that's light and tastes good with lemon and cheese. Experiment, dump it in there, see what happens!

I myself am a lover of cheese, so I always put a bunch of extra cheese in mine.


You can believe, dear reader, that I ate the crap out of that. Mmmmm.

Monday, August 24, 2009

Tomato Soup

Difficulty Rating:

Recipe:

1 - 1 lb can of crushed tomatoes
2 cups milk
2 tbsp butter
1/8 tsp baking soda
Spices

In one saucepan, heat tomatoes on low. In second saucepan, heat milk and butter on low. DO NOT LET EITHER POT BOIL!

When tomatoes are hot, stir in baking soda to foam. Add in hot milk and butter and stir until well mixed. Add spices and stir.

NOTE: If increasing the recipe, DO NOT increase baking soda.
_____

Execution:

Again, pretty much the easiest recipe known to man. Most people have never had anything other than the sludge that comes in a Campbell's can - which I'm not knocking, it was my fav as a kid. But we're adults now and we can do better with about as much effort!

I listed one of the ingredients as "spices" just because I generally use whatever's in the house, about a teaspoon to a tablespoon of each. When I made this at home on Friday I used salt, pepper, garlic powder, Adobo and dried cilantro. Tonight I used salt, pepper, garlic powder, and dried basil. Whatever you've got in your kitchen works. Also, please note that for the pictures I didn't have any canned tomatoes so I used fresh - all you have to do is dice them up very tiny and mush 'em a little.

Ingredients:


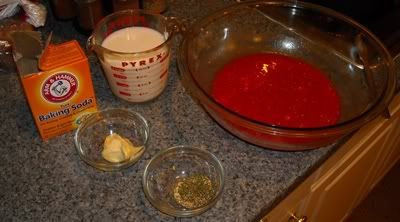
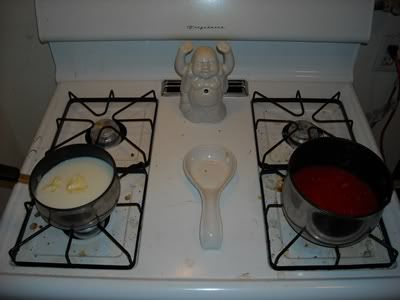
Five things, super simple. You put the tomatoes in one pot and the milk and butter in another.


(Please excuse Kitchen Buddha - he's a camera hog.)

Heat them both over low to medium-low heat. It's very important that you NOT boil either of the ingredients, because it starts to break down the tomatoes and it generally scorches the milk. I taught my little sister how to make this tonight and she asked, quite smartly, "How do you know it's hot enough if it's not boiling?" The answer: stick your finger in the tomatoes. If it's hot, you'll feel it. For the milk and butter, you're really just waiting for all the butter to melt. If you're less keen on burning your fingertips, just keep an eye on the tomatoes - they'll start steaming a little once it's the right temperature.


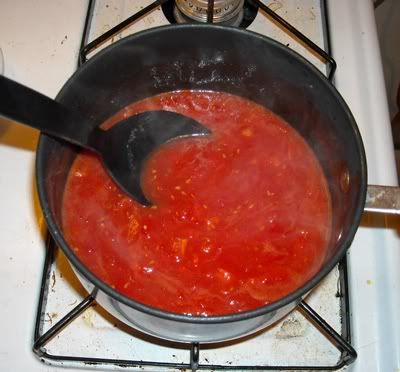
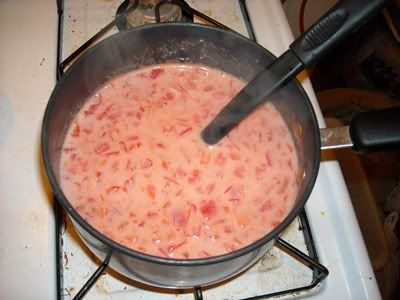
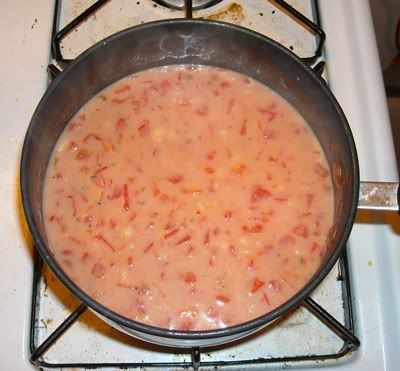
Then you just sprinkle in the baking soda and watch as science makes it awesome. It should foam up much like your volcano in the 4th grade science fair, and for much the same reasons. Stir it until it stops foaming, then dump in the milk and butter melty goodness.


Then you just chuck in the spices and stir it some more.

Now, depending on what you're using, the soup may not be thick enough for you. We're all used to the creamy, nummy Campbell's goodness after all. There are two solutions to this problem.

(A) Use heavy cream instead of milk, which usually requires a trip to the grocery store. Be EXTRA careful about not boiling it.

(B) Once you're done and it's still too watery, put a tablespoon of flour in a little bowl and mix in a few spoonfuls of liquid from the soup. Use a fork to mix it up and make sure there aren't any lumps - you can add more soup liquid if it's too pastey - and then pour that mixture back into the soup. Flour is a natural thickening agent, and if you simmer it for another five or so minutes it should thicken right up. You can do this as many times as you like until you get the consistency that you like, but always give it five minutes between adding flour because sometimes the thickening is a little delayed.

Either way, you should have delicious creamy soup in the end!


I like to make this in conjunction with the beer bread; I usually put two slices of beer bread in the bottom of a wide bowl and then pour the soup over it so it soaks into the bread and makes a delicious mushy mess. You can also add regular old saltines and have it be amazing. It goes great with grilled cheese sammiches, and, as we discovered tonight, it's pretty damn good with homemade mac 'n cheese too.

This recipe gives a shout-out to my sister Karli because it's her favorite thing in the world. There's leftovers in the fridge!

Friday, August 21, 2009

Beer Bread

Difficulty Rating:

Recipe:

3 cups Self-Rising Flour
2 tbsp sugar
1-2 cans/bottles of beer
1 egg, beaten with 1 tsp of water

Mix the dry ingredients in a large bowl. Slowly add the beer until the dough reaches a sticky, solid consistency. Press into a greased breadpan and cover with a towel. Let sit for 15 mins.

Pre-heat oven to 375 degrees. Brush egg mixture onto the top of the dough. Bake 1 hour.
___________

Execution:

This is, by far, the easiest thing in the world to do. Most breads require buying yeast, and careful measurements, and waiting for it to rise, and kneading, and a whole lot of work that's just a pain. Not so with Beer Bread - the beer has the yeast built right in, so there's none of that pesky manual labor.

You can use any beer, really. I find myself experimenting with flavors. Cherry Wheat beer makes a nice fruity bread that's good by itself with butter - throw in some actual chopped cherries and life is awesome. Since I'm making this to go with tomato soup, I chose a Summer Ale since it's light and slightly citrusy. It doesn't really matter what you choose; you can make this with the Silver Bullet if that's what you have in your fridge.

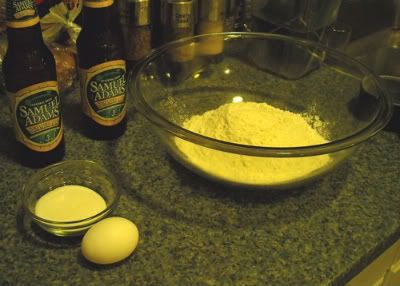
Ingredients:


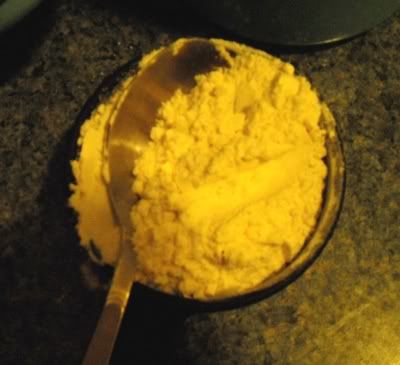
This is made with basically nothing. You start with Self-Rising Flour (if you only have All-Purpose flour, which is what's usually sold in stores, you can turn it into SR Flour like so).


Keep in mind that when you're measuring flour, you should never pack it into the measuring cup - don't shake it to get it to settle, don't flatten it in there with a spoon. Just scoop it in there until you get to the top. There should be some air in there - packing it will throw off the measurements. It's not enough to panic over so don't go crazy with it, just scoop it in there and dump it in the bowl.

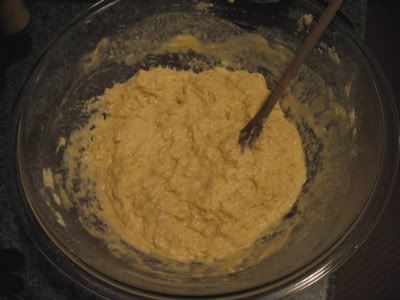
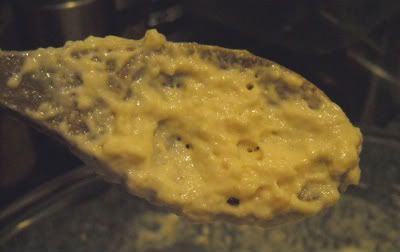
Add two tablespoons of sugar, which is just two big scoops with a large spoon. Mix it up. Then slowly pour in your beer a little at a time. It'll fizz like the dickens, but that's to be expected. Just mix it into the flour bit by bit until it gets doughy. How much beer you use really depends on the individual beer. I always get two bottles just in case. For the Cherry Wheat, it takes about 1 1/4 bottles; for the Summer Ale, it didn't even take one full bottle. It should have a sticky, solid consistency.


This is actually a little too wet for the dough, but this is my first foray into photography while cooking so things are a bit jumbled. If it gets too wet like this, just mix in some more flour a spoonful at a time until you get it right.


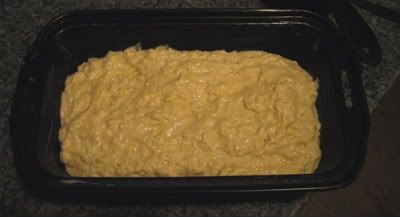
Then just pour it into a greased bread pan. Throw a towel over it and let it sit for 15 minutes. Depending on what beer you use, it should rise a bit. Heavier beers generally mean less rise and thicker bread. I have a hankering to try this with Guinness since that's basically bread-in-a-bottle anyway, but I haven't yet made that leap.


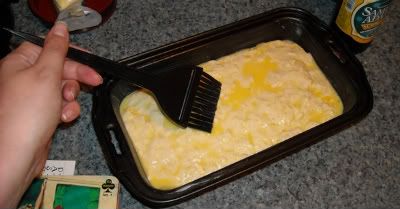
Then just brush the egg over it and stick that bad boy in the oven.


375 for an hour, and voila! You've got delicious crusty bread!


As a general rule, get the bread out of the pan as soon as you can and let it cool. The grease should keep it from sticking and it'll come right out when you tip it over.


The crust should be pretty thick, which makes it perfect to eat with soups. Enjoy!


Special Thanks to Casey C. for the original recipe!