Difficulty Rating: 
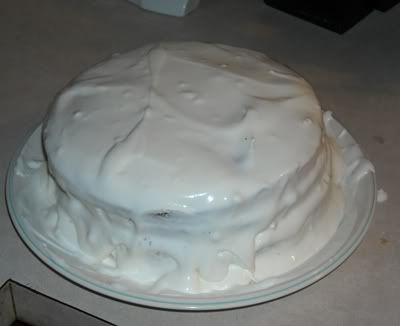
I'd like to preface this particular entry by saying that I am the worst, please believe me, the worst cake froster in the history of frosting cakes. My cakes always end up looking like some mutant half-melted monstrosity, and I'm okay with it because they're delicious. So just, you know, don't worry about the pictures. Your cake will look better, I promise.
Recipe:
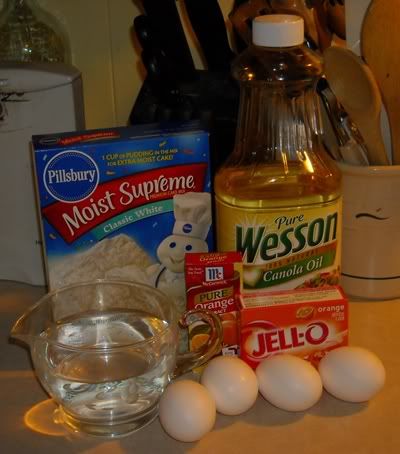
Cake
1 box White cake mix
3 oz (one box) orange jello mix
1/3 c. vegetable oil
1 1/4 c. water
4 eggs
1 tsp orange extract
Icing
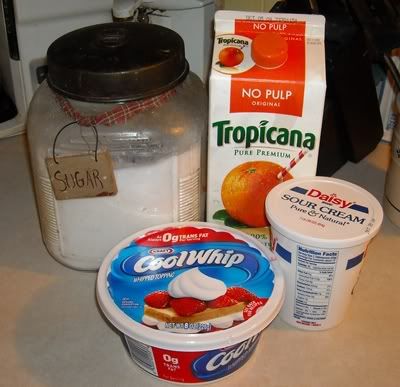
8 oz sour cream
1 1/4 c. sugar
Orange juice - 1/2 c. with pulp, 1/3 c. without pulp
1 tub Cool Whip
Preheat oven to 350 degrees.
Mix cake ingredients and pour into 2 - 9 inch round cake pans. Bake, cool, and slice cakes in half to make four layers.
Combine all icing ingredients except Cool Whip. Fold in Cool Whip, then spread between layers, on top, and on sides of cake.
Execution:
This is a fairly easy cake to make - the icing is actually the most complicated part, but I think using the word "complicated" is, in itself, a stretch. Let's make a delicious cake happen, shall we?
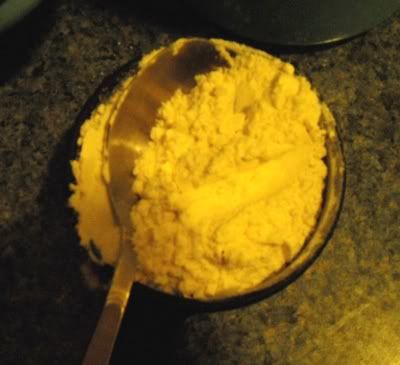
Ingredients:
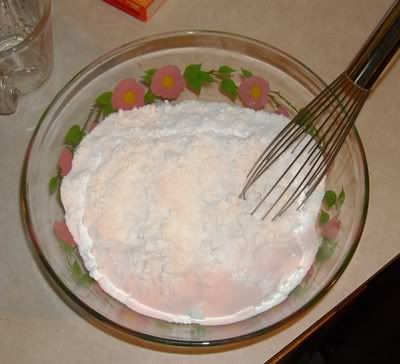
The first rule of baking is that you always mix your dry ingredients first and then add your wet ingredients. This keeps things from clumping together, which is never good in baking.
I've changed this recipe a bit - it originally used orange cake mix. But orange cake mix is hard to find in a lot of stores, and besides that it makes the flavor a bit too overpowering. I always remember Dreamsicles being a subtle, creamy orange flavor instead of a straight punch-in-the-face of orange. So I use white cake mix instead and just throw an extra little bit of orange extract if I want it to be more orangey.
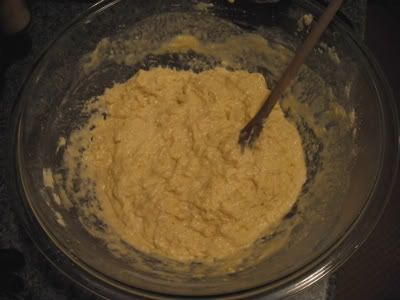
So! Mix your dry ingredients...
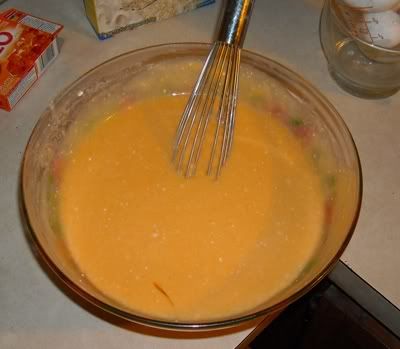
...and then add your wet and whisk it up. You can also just use a fork or slotted spoon if you don't have a whisk. Some people say to use an electric mixer, but I don't really see the need.
Then you pour that goop into two greased round cake pans and stick 'em in the oven. Cook it according to the box's directions - I think this particular cake called for 27 minutes.
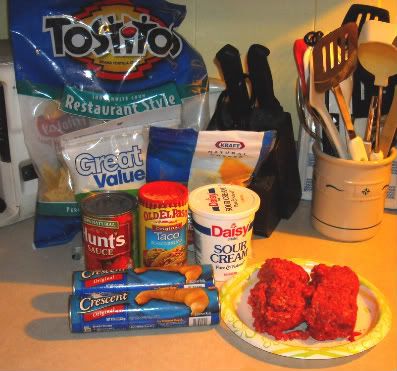
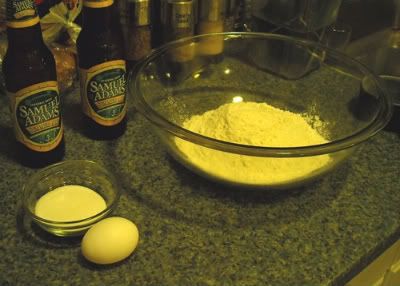
While that's cooking, get your ingredients together for the icing:
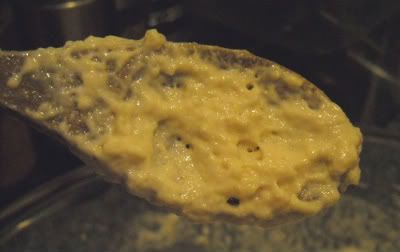
Mix everything but the Cool Whip together. After making this several times, I've adjusted the amount of OJ needed based on pulp content just because the non-pulp version tends to be more watery so you need less of it.
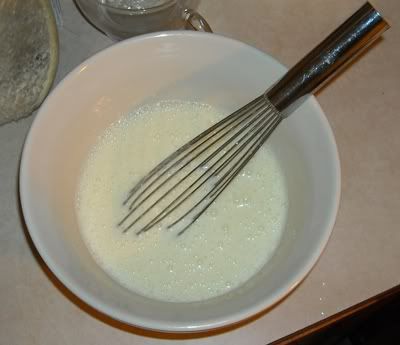
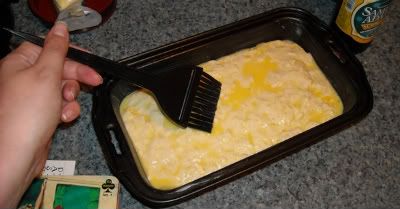
Then you'll want to fold in your Cool Whip. There is a distinct difference between mixing and folding. Mixing usually breaks it down a little too far and leaves it less icing-y than you'll want. In order to demonstrate, I've shot the first ever video for The Apartment Chef to show you the technique.
For the record, rocking out to Muse makes the cake taste better.
Once you've got the icing all done, stick it in the fridge until the cakes are done.
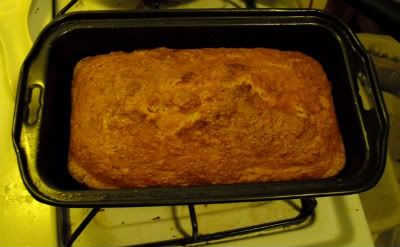
Oh, look! Cakes are done! Take those suckers out, get 'em out of the pan, and let 'em cool for a while.
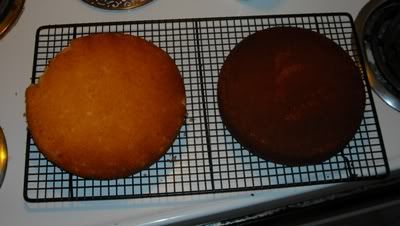
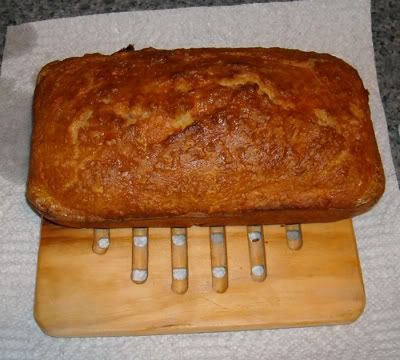
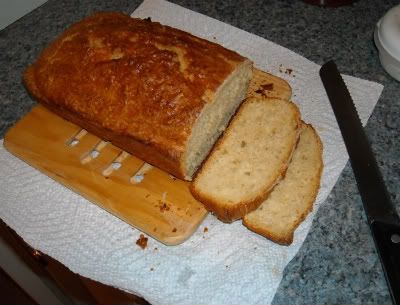
They should get down to room temperature. Once they're cool, use a large knife to saw them in half so you have four layers. I have illustrated below, with one already cut and the other in the process:
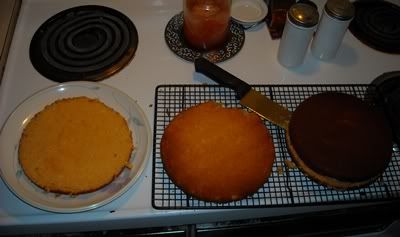
The trick to making a four-layer cake is positioning the layers. When it bakes, the cake will naturally have a curve on the top and a flat bottom. If you try to stack them the same way, they'll end up middle heavy and you'll get a crack in the middle. I discovered this one year when I made my easter cake. My friends can attest to the earthquake that hit it right down the middle. So the solution is to turn some of them over. You'll want the first curved part face-down on the plate, followed by the bottom to match, then do the top two layers upright. Sort of like the horizontal version of this: ( | | ) Which is not an emoticon for boobs. It's CAKE, people.
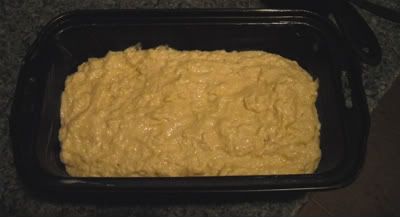
Then you just start slopping the icing on there. As you can see, I am especially sloppy about it.
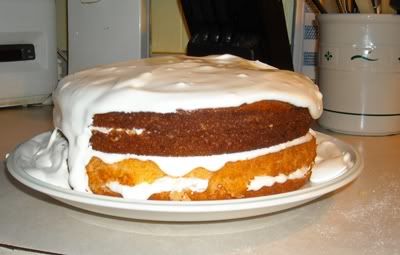
Get it all between the layers and then do the tops and sides. It should end up looking something like this, though surely better since I am the suck at frosting a cake.
And now you have a delicious cake! Just cut into that bad boy and eat the crap out of it.
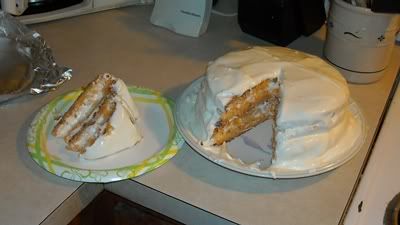
Yummy!


