Difficulty Rating: 
Tonight, dear reader(s), I am making you an entire meal. An
entire meal for just 2 cookies. I know, I know, you're thinking this might be an early April Fool's prank, but I promise you that you can do it too. Now, there was a really good
article about how ridiculous and yet overwhelmingly prevalent the idea of being "too stupid to cook" is, and since it goes along wonderfully with the entire point of this blog, I think you should take a second to read it and realize that
you can cook. You can do it. And here's an entire meal, front to back, that you can put together yourself.
Admittedly, the asparagus ain't that healthy since I boiled it in butter, but I needed a sauce for the rice and I was feeding three people. So... shut up. Now, there's only a recipe for the main entree,
Baked Salmon with Blackberry-Ginger Glaze, because I literally made up the rest of it on the fly. I actually wasn't going to make dessert but I had all this delicious blackberry goo left over so I turned it into a nummy dessert sauce. So while I will list the recipe for the salmon, I'll explain the asparagus and the blackberry tart as well.
Here we go!
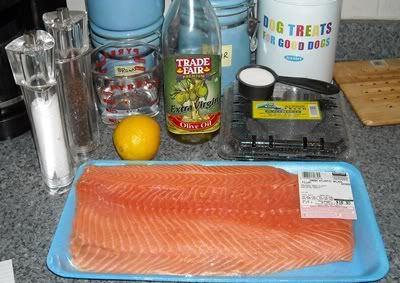
Recipe1 c. water
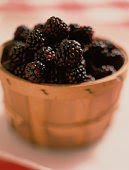
12 oz. blackberries
1 (1-inch) piece of ginger, peeled and sliced into coins
Juice of 1/2 lemon
1/4 c. sugar
1 tbls olive oil
4 (8-oz) skinless salmon fillets
Salt and pepper
Preheat oven to 400 degrees.
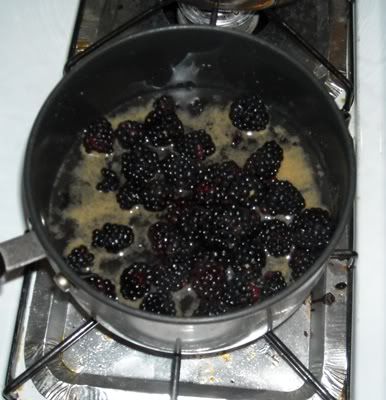
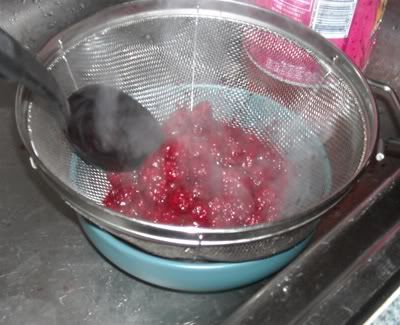
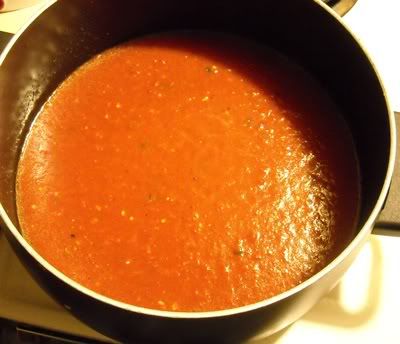
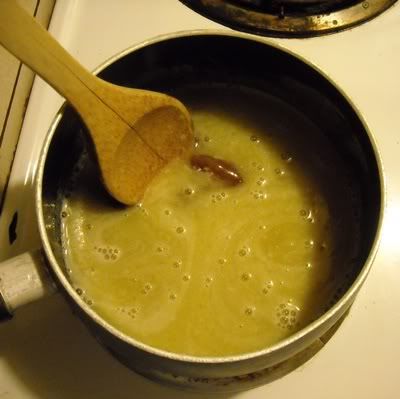
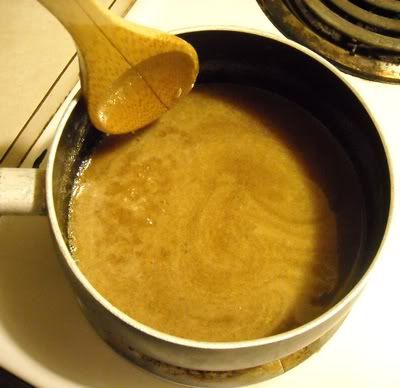
In a small saucepot over medium-high heat, combine water, blackberries, ginger and lemon juice. Bring to a boil, reduce to a simmer and cook until berries break down, about 5 minutes. Remove from heat and strain into a bowl, using the back of a spoon to push blackberry pulp through. Return blackberry mixture to the sauce pot, add sugar and bring to a boil. Lower the heat and simmer until reduced by half, about 20 minutes, stirring occasionally to avoid burning. Remove from heat and let cool.
Brush a baking sheet with olive oil and set fillets on top. Brush fillets with oil and season with salt and pepper. Once blackberry mixture is cool, brush over salmon fillets and bake for 4 minutes. Brush again with blackberry mixture. Turn oven to broil and broil another 3 minutes.
ExecutionFirst of all, DO NOT preheat your oven right now. Seriously, you only need the oven for the last 7 minutes of a half-hour recipe, so you'll just be wasting your time and sweating all over your kitchen.
Now. Um. What comes next? Oh, yes.
Ingredients
These are just the ingredients for the salmon. For the rest, you'll need a bunch of asparagus, minced garlic, a stick of butter, and rice (any kind, we like basmati). For the dessert, you'll need either whipped cream or heavy whipping cream and sugar to make your own as we did, pound cake, and vanilla ice cream. I seriously got it all at the gas station downstairs. No, really. I looked at the blackberry goo and then ran downstairs to get stuff to make a dessert.
So. What to do! This is all about the sauce. Everything else takes five minutes.
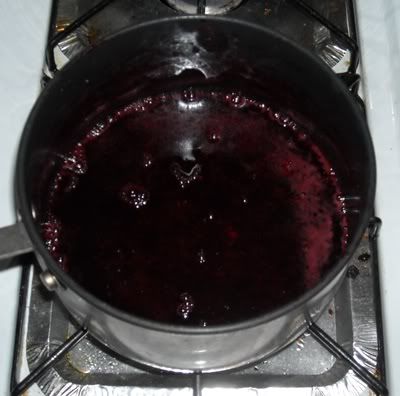
First, dump the water, blackberries, lemon juice, and ginger into a saucepan. I didn't have fresh ginger, so I used a tablespoon of powdered ginger.
Cook that for about 5-10 minutes until the berries get all mushy. As a fun scientific note, the blackness will leech out of the berries and into the liquid, leaving them looking like raspberries. Fun!
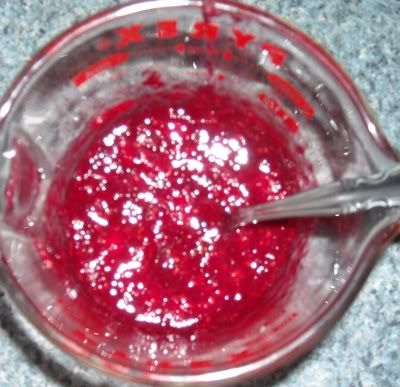
Once that's all good, strain the stuff to get all the seeds and solids out, but be sure to use the spoon to squish as much through the strainer as you can. Now this is the point where I looked at all the seedy gooey goodness and said... hey, I can add sugar to that and make it delicious. Mmm.
When you're done, pour the liquid back into the pot and reduce it by half. This took me about twenty minutes just like the recipe said.
At this point I started the rice, and at around ten minutes I started the asparagus, so the rest of the meal gets cooked while the sauce reduces since all you're doing it stirring it every five minutes to make sure it doesn't stick to the bottom.
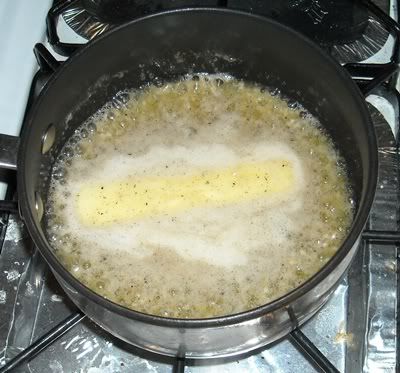
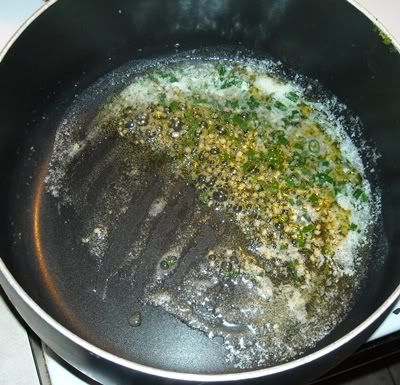
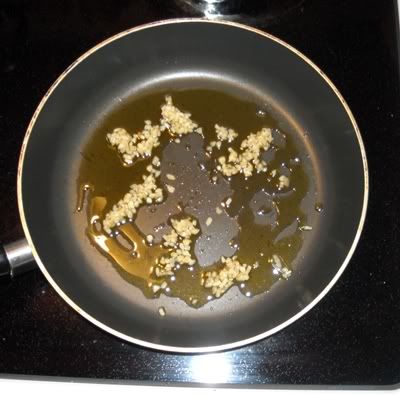
In another small pot, melt a stick of butter with a heaping spoonful of minced garlic and some salt and pepper.
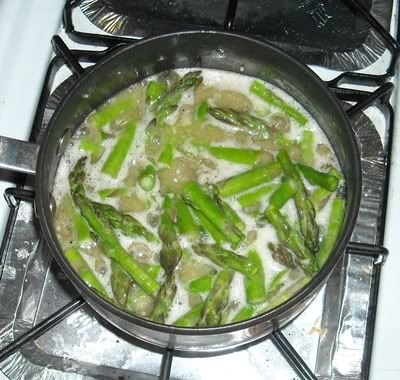
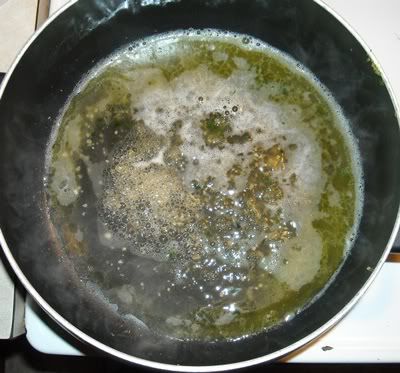
Once it's all melted, throw in some chopped asparagus and just let it boil in the butter until it's cooked.
Ta-da! Done with the sidedish!
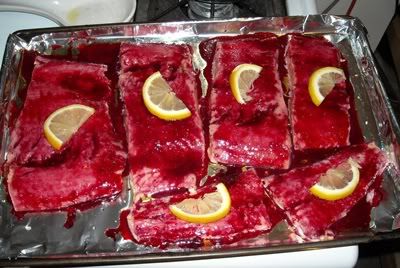
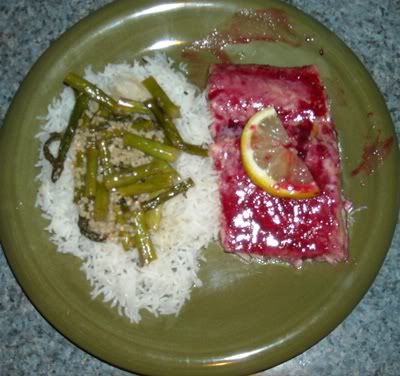
When the blackberry sauce is done, pour it in a bowl and stick it in the fridge to cool. When it's down to about room temperature, preheat your oven. Oil your baking sheet and put the salmon on it, then oil and salt it. Brush on the sauce and bake it in the oven for 4 minutes. Take it out and add some more sauce, turn the oven to broil, and stick it in for another 3 minutes. I took a note from the comments section of the recipe and stuck some lemons on the fish so it'd be prettier. This is a SUPER colorful dish, and I like making it even more so.
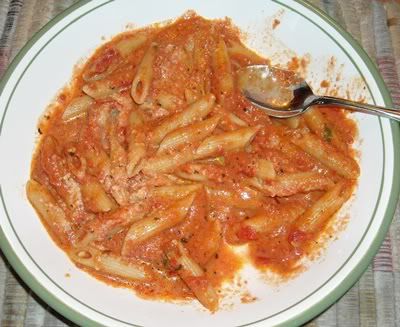
Ta-da! Purple fish! So delicious. Put some rice on a plate and spoon the asparagus and butter over it, and serve with the fish.
Om nom nom!
So. I had this blackberry goo leftover. I figured it'd be delicious, so I added two tablespoons of sugar to it.
It's kind of blurry because I'm a crappy photographer.
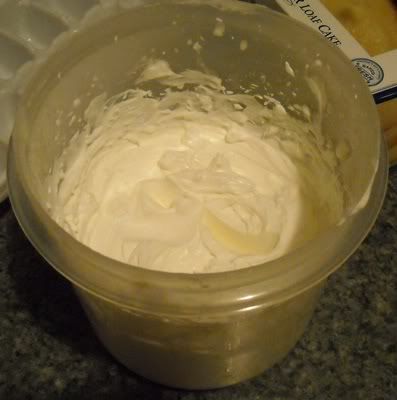
We had heavy whipping cream because I'll be making some more deliciousness in the week to come, so my roommate went ahead and made some whipped cream with it. Just add sugar and whip it, really, that's all. It whips faster if you chill the bowl or submerge it in ice water - or, as my roommate did, add tiny chips of ice, but that means you sometimes chomp on them so it's up to you. But homemade whipped cream is sooooo delicious!
Yes, that is a dent left by my finger. I ate it. Yum.
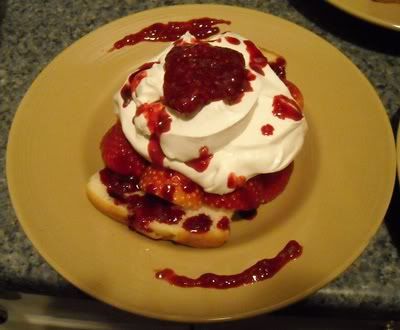
I cut up a few slices of pound cake and put a scoop of ice cream in between them, then covered all of that in whipped cream. Cut up some strawberries, drizzle on a whole lot of the blackberry sauce, and you have something truly wonderful.
Tell me that's not the most amazing thing you've ever seen! And it was gooooood. I couldn't move for an hour after this meal, which is twice as long as it took me to make it. So you see people? You can make things like this. It's
really that easy!